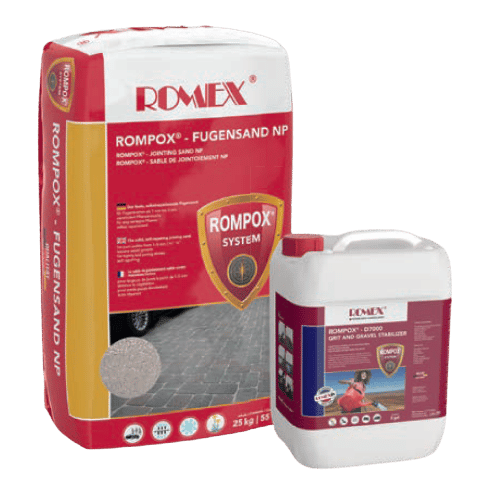
ROMEX® FUGENSAND
Jointing Sand & Stabilizing Sealer
Ideal for driveways and interlocking pavers
FUGENSAND is perfect for narrow joint widths between 1/16″ | 1mm and 1/4″ | 5mm and works well for any unbonded projects. This combo is incredibly easy to install, just sweep the sand into the joints, hose down the surface and squeegee the sealer on top. Due to its stabilizing properties, this sand is now pressure washer-safe, ensuring the surface stands the test of time. Disclaimer: Jointing Sand & D7000 must be used in combination.
WEATHER WARNING – Only install at surface temperatures between 5°C – 30°C | 41°F – 86°F. Lower temperatures result in slower hardening while higher temperatures cure faster.
- 2 in 1 stabilizer/sealer
- Pressure washer safe
- No cement haze/residue
- Works with tight paver joints
- Same installation as poly sand
but categorically stronger
BENEFITS
INSTALL VIDEO
INSTALL STEPS
REQUIRED TOOLS
- ROMEX Install Tool Kit – Contents:
- Coconut Broom (40 cm)
- Premium Industrial Broom (40 cm)
- Coconut Handbrush (28 cm)
- Metal Dustpan
- Strong Sponge Squeegee (45 cm)
- Hard Squeegee (45 cm)
- Mini Handheld Squeegee (20 cm)
- Safety Glasses
- Latex Gloves
- Tape
Other Tools:
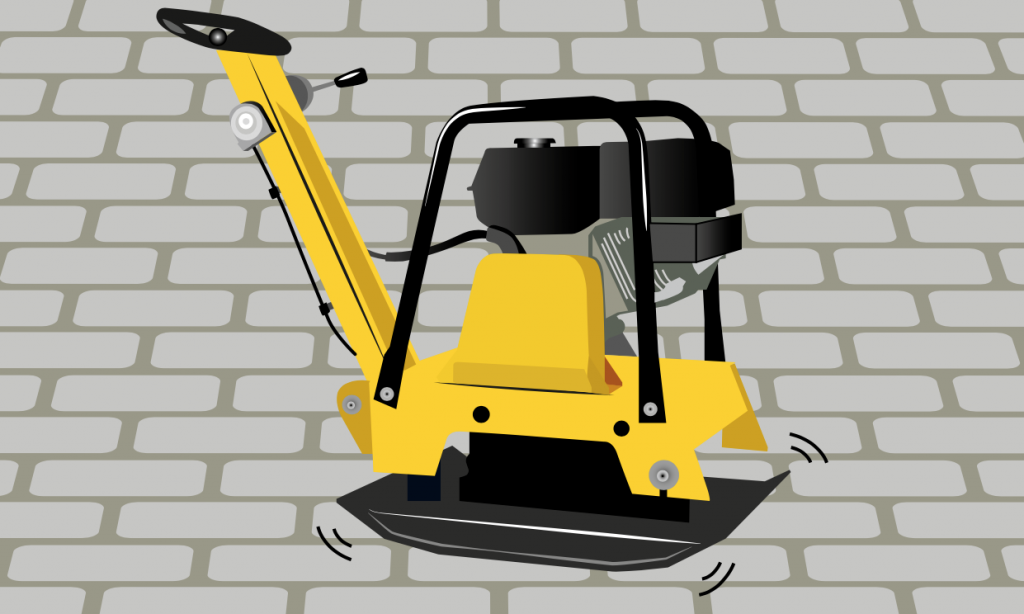
- Plate compactor
- Watering cans
ROMEX® FUGENSAND is an eco-friendly solution creating solid paver joints, made from natural materials. It offers strong joints, easy application, and durability, suitable for narrow joints up to 5mm | 1/4″ including interlocking paving stones on patios, driveways, and public areas. Its high strength and elasticity are ideal for unbonded construction. The D7000 stabilizer protects against dirt, oil, and climate damage for up to 5 years. Installation requires temperatures between 10°C – 30°C | 50°F – 86°F Note – ROMEX® FUGENSAND must be installed with ROMEX® D7000 stabilizer with Joint sizes 1-5mm for optimum results.
Construction site requirements: The foundation needs to be prepared according to the expected traffic loads and CMHA guidelines. Regulations regarding construction of paving stone surfaces should be heeded. Do not use in “permanently wet areas (swimming pools, fountains, drains, drip edges etc.) unless used with D7000 stabilsier, Only use with water permeable superstructures (bed and base course) and a slope of at least 2 %.
Preparation: Joints must be clear of all debris. The entire joint must be free of organic matter in order to prevent existing weeds from re-growing. Use appropriate methods. Paving stones must be free of movement. Pre-
compaction is recommended.
ROMEX® FUGENSAND should be worked into full depth of the stone. For reinstallations sand must be installed to at
least 3/4 of the depth of the stones. Proper laying methods should be used.
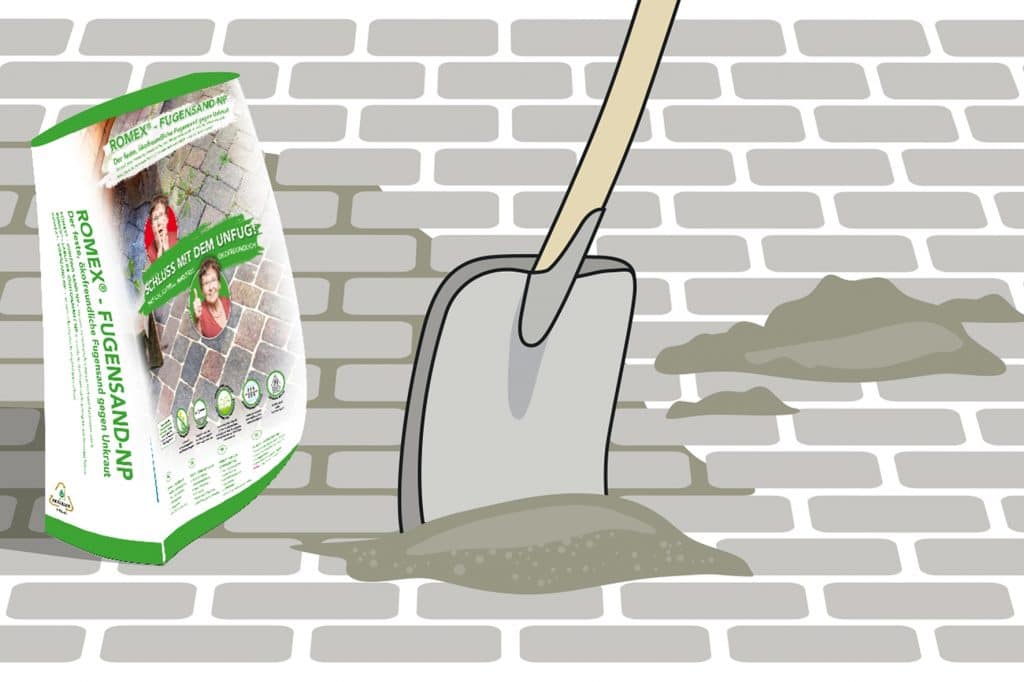
Application: Pour the jointing sand onto the dry surface and mix it with a shovel, to ensure polymers are properly mixed. Using a broom work into the joints sweeping diagonally to the joint Fill the jointing sand up to just below the top edge of the paving stone or the chamfer. Sweep off the paved stone surface carefully using a fine hair broom, until no more sand is on the stone surface.
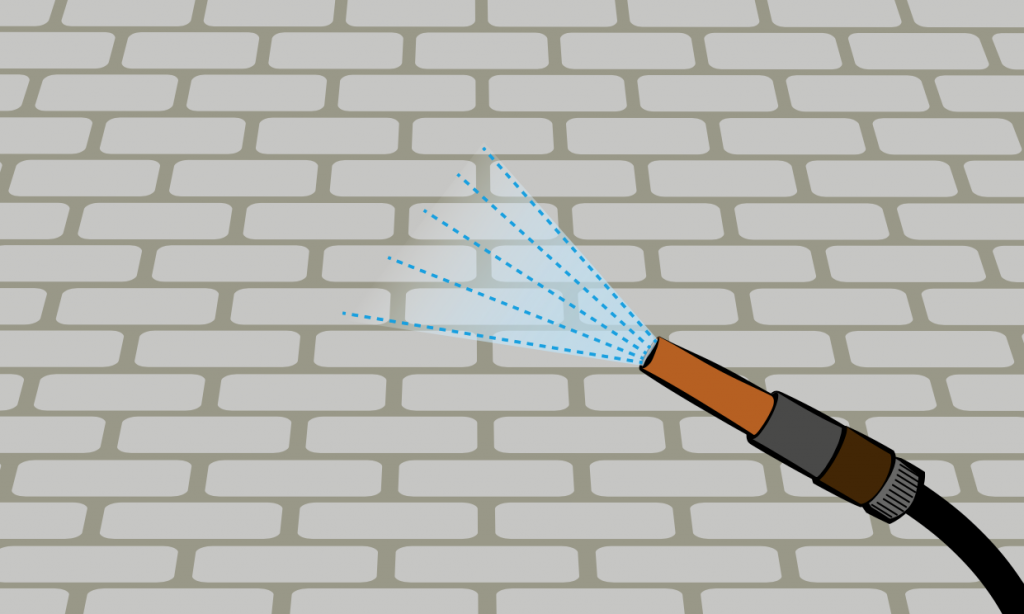
Consolidate the joints using a vibratory plate with a protective mat. Re-fill joints again and repeat the consolidation
process until the joints are full. Use a leaf blower on low to remove excess sand off the surface.
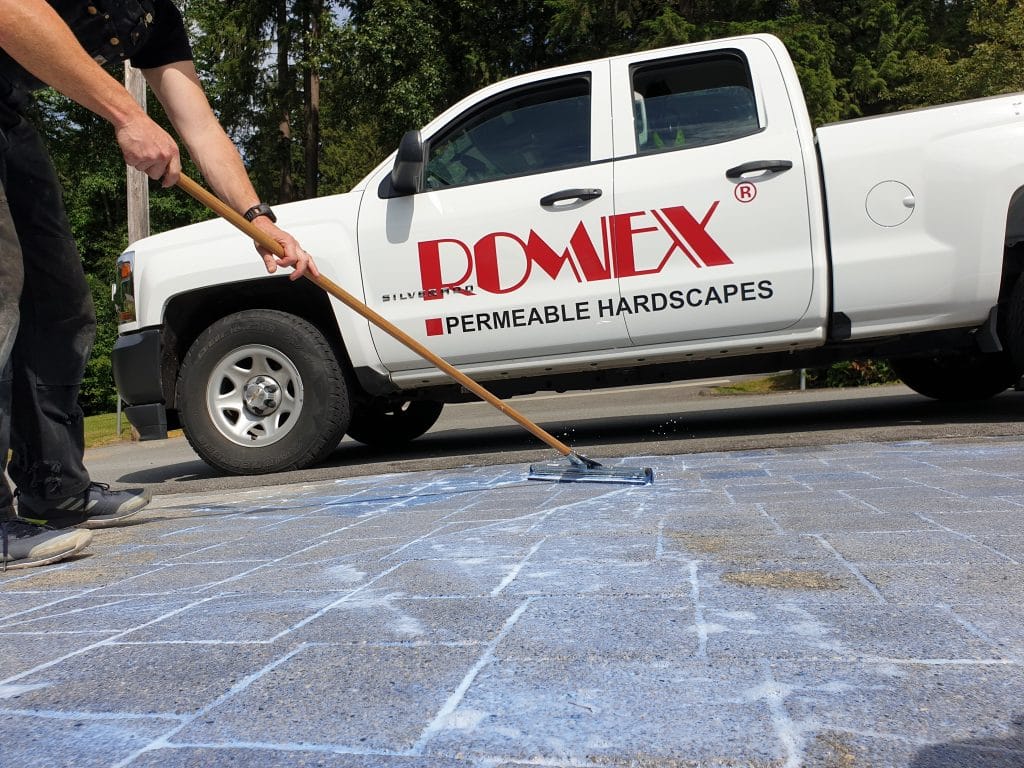
Stabilizing Sealer: Preparation- Prefill watering cans for the area with D7000 Ideal setup – 1 person pre-watering surface – 2 people squeegees – 1 person leaf blower dissipating excess. Ensure surface has been pre-wet and remains wet as the d7000 is being applied, if the surface dries out wet again. Apply D7000 directly to the surface ensuring complete surface coverage and the joints are saturated. Immediately remove the excess thoroughly with a double- lipped foam squeegee. During the initial period a very thin colour enhancement remains on the stone surface and intensifies the colour of the stone, sealing the surface and protecting it from dirt, oil and corrosion. The film is temporary and will disappear over time due to weathering and abrasion. In case of uncertainty, a sample surface should be tested before the entire jointing is done. Porous surfaces as well as higher surface temperatures increase
consumption.
Final Cleaning: If necessary, any sand residue left on the surface can be swept off using a large, coarse broom the next day. The surface is loadbearing after 24-48 hours. Cooler temperatures- longer curing. Hot temperatures-quicker curing. Subsequent treatment: For joint maintenance, care should be taken to ensure that no organic matter is left in the joints. Rotting leaves/grass should be cleaned regularly off the stone surface and out of the joints with a pressure washer up to 1,800 psi and minimum 12” at an angle from the surface. General purpose algae and moss remover can be used. Avoid long periods of water loads. Any settling cracks or small areas of damage can be
smoothed and repaired.
Precautions: A sample surface should be tested before the entire jointing is done. Ideal Temperature 15-25c Ensure paving stones have no movement prior to installation Allow 48 hrs for traffic.
Gallery Images